Creating a multi platform Rust Driver: FT232H Breakout Board
In the previous part of the series we explored the embedded-hal traits and how they can be used to create platform agnostic drivers in Rust. In this part, we will focus on how we can use the FT232H breakout board to interact with our I2C device from a desktop environment.
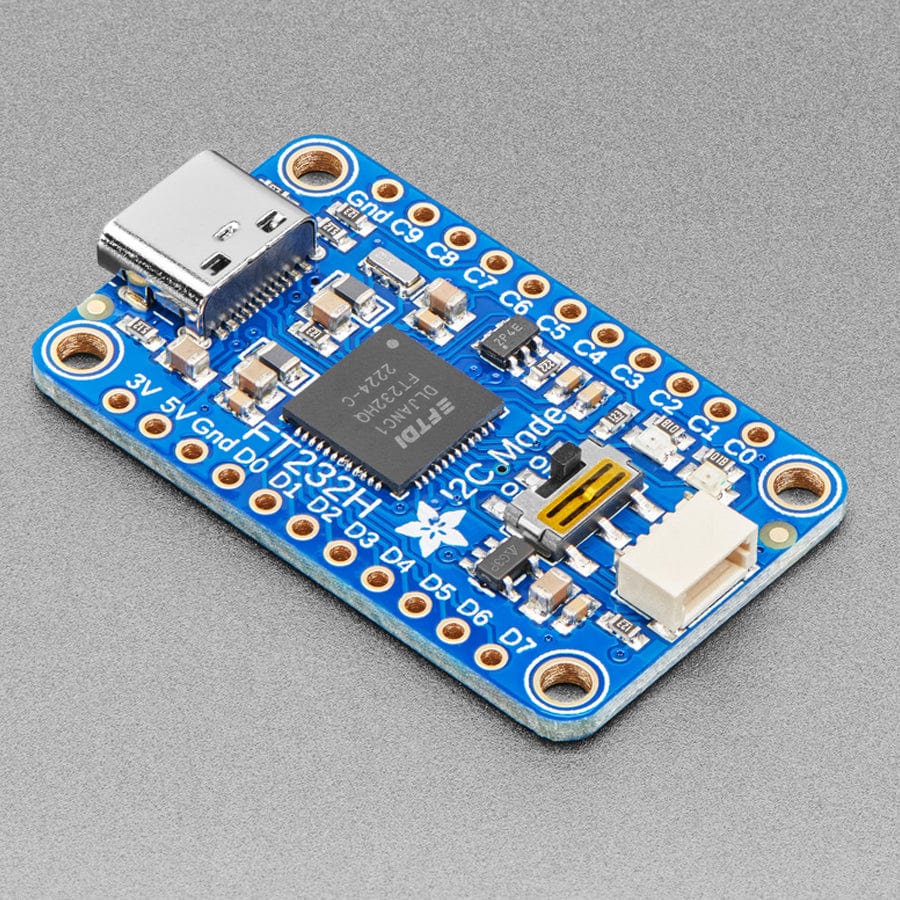
An ordinary laptop or desktop computer does not have native I2C support, so we need to use a USB to I2C bridge to communicate with our device. The FT232H breakout board made by adafruit is a popular choice for this purpose, as it provides a simple and reliable way to interface with I2C devices from a computer. It also provides GPIO, SPI and has a STEMMA QT connector for easy wiring. Allowing us to chain a bunch of I2C devices together.
Setting Up the FT232H in Rust
Traditionally the FT232H has been used with C/C++ or Python, but there is a Rust crate called ftdi-embedded-hal that provides an embedded-hal implementation for the FTDI chips. This crate allows us to use the FT232H breakout board as an I2C interface in our Rust drivers.
So when working with this board you will need to add some dev dependencies to your Cargo.toml file in your library/application. This allows the rust code to add these dependencies only when you are running tests or examples. If for example you are building a library that uses embedded-hal traits, you may not want to include the FTDI dependencies in the final library binary. This is where dev-dependencies come in handy.
Shown below is an example of how to add the necessary dependencies to your Cargo.toml file:
[dev-dependencies]
ftdi = "0.1"
ftdi-embedded-hal = { version = "0.23", features = [
    "libftd2xx",
    "libftd2xx-static",
] }
These are not optional dependencies, like we used last time with maybe_async, because we always want to have these dependencies available when running tests or examples that use the FT232H board.
However due to the way in which the ftdi-embedded-hal crate works, you will need to have the FTDI drivers installed on your system for the crate to compile and work correctly.
You can do that easily on Linux using your package manager. For example on Ubuntu you can run:
sudo apt install libftdi1 libftdi1-dev
On macOS, you can use Homebrew:
brew install libftdi
This will ensure that the required libraries are available for the ftdi crate to function correctly.
Creating I2C and Delay types
In terms of a real world example, in the AP33772S Driver, we use a private sub crate within the library crate to provide both an implementation of I2C and Delay. We can then use these structs for our testing and examples. This keeps the main library crate clean and focused on the core functionality, while still allowing us to test and demonstrate the driver using the FT232H board.
For example this utils crate provides two functions that provide an I2C interface and a Delay implementation using the FT232H board:
pub fn setup_i2c(baudrate: u32) -> Result<I2c<Device>, Box<dyn Error>> {
    // Change these for your device
    const DEVICE_VID: u16 = 0x0403;
    const DEVICE_PID: u16 = 0x6014;

    let device = ftdi::find_by_vid_pid(DEVICE_VID, DEVICE_PID)
        .interface(ftdi::Interface::A)
        .open()?;

    // Next initialise the HAL with the device and the baud rate
    let hal = match hal::FtHal::init_freq(device, baudrate) {
        Ok(hal) => hal,
        Err(err) => {
            eprintln!("Failed to initialise HAL: {err}");
            return Err(Box::new(err));
        }
    };
    // Finally initialise the I2C with the HAL
    let i2c = match hal.i2c() {
        Ok(i2c) => i2c,
        Err(err) => {
            eprintln!("Failed to initialise I2C: {err}");
            return Err(Box::new(err));
        }
    };
    Ok(i2c)
}

pub fn setup_delay() -> Delay {
    // Create a delay instance for the FT232H
    Delay::new()
}
Using the FT232H in Examples
A snippet of the example code of the AP33772S driver using the FT232H I2C interface looks like this:
use ap33772s_rs::Ap33772s;
use utils::{setup_delay, setup_i2c};

/// The following example shows how to query the AP33772S device for its status and power source delivery capabilities.
/// It can be run on a host machine using the FT232H Breakout Board. This example is based on the Vendor supplied Arduino examples.
fn main() {
    let i2c = setup_i2c(1_000).expect("Failed to set up I2C");
    let delay = setup_delay();
    let mut ap33772s =
        Ap33772s::new_default(i2c, delay).expect("Failed to create AP33772S instance");

    // Read The Status Register
    let status = ap33772s.get_status().expect("Failed to get status");
    println!("Status: {status}");
    // Get the Power Source Delivery Capabilities
    let power_delivery_capabilities = ap33772s
        .get_all_source_power_capabilities()
        .expect("Failed to get Power Source Delivery Capabilities");
    println!("Capabilities: {power_delivery_capabilities}");
}
The power here is we are using our platform agnostic driver code we talked about from part 1, its a minimal example that focuses purely on the driver itself and not any setup code for the system. We can also run this just on our dev machine, so no toolchains or necessary dependencies are required. It also doesn’t care what operating system you are using, as long as the FTDI drivers are installed correctly.
The best part is that because we have used the embedded-hal traits in our driver, we can easily switch between different platforms without changing any of the driver code. For example, we could run the same code on an embedded device using a different I2C implementation, and it would work seamlessly. An async example of this is shown in the ESP32 example of the AP33772S driver.
CI/CD Testing with FT232H
An exciting use case for the FT232H breakout board is to use it in CI/CD pipelines to run hardware-in-the-loop (HIL) tests on real devices. This allows us to validate our drivers against actual hardware, ensuring that they work correctly in real-world scenarios. Since we have the embedded-hal, we can test our driver on multiple hardware platforms without changing any of the driver code. An example of the CI/CD test bench setup is shown below:

In a future blog post we will explore how to set up CI/CD pipelines using GitHub Actions to run HIL tests using the FT232H breakout board. For now the above example should give you a good idea of how this FT232H breakout board can be used on macOS, Linux and Raspberry Pi Linux to test your drivers on real hardware.
Tips
When you’re developing your rust drivers, it’s always a good idea to separate out the platform specific implementations into their own modules or crates. This keeps the main driver code clean and focused on the core functionality, while still allowing you to test and demonstrate the driver using different platforms. The FT232H breakout board is a great tool to achieve this goal and allows you to easily test your drivers on a desktop environment. This is ideal when you don’t want to setup a whole microcontroller or embedded linux environment to test your code.
Next Time
Hopefully you found something useful here! If you have a disagreement or there’s a better way of doing what I’m describing, please raise an issue on the blog repository or submit a pull request with your improvements.
- Previous Part: Creating a multi platform Rust Driver: Embedded Hal
- Next Part: Coming Soon!